Are you tired of baking bread that turns out dense, tough, or crumbly? Many home bakers struggle to achieve that perfect, airy texture in their homemade loaves. It can be frustrating to put in the time and effort, only to end up with bread that’s far from the soft, chewy perfection you’re aiming for.
Imagine the disappointment of slicing into a freshly baked loaf, only to find it heavy and doughy inside. Or worse, presenting a homemade bread to friends and family that’s more like a brick than a delicious, pillowy creation. The science behind gluten development can seem complex and overwhelming, leaving you unsure how to improve your bread-making skills.
But don’t give up on your bread-baking dreams just yet! Understanding the science of gluten development is the key to perfecting bread texture. This guide will walk you through the essential principles of gluten formation, from protein interactions to kneading techniques. Get ready to transform your bread-making game and create loaves that rival any artisan bakery!
Table of Contents
The Building Blocks: Glutenin and Gliadin Proteins
Glutenin and gliadin are the two key proteins in wheat flour that combine to form gluten when water is added. Glutenin provides elasticity, meaning it resists stretching and gives dough strength. On the other hand, gliadin offers extensibility, allowing the dough to stretch without tearing. Together, these proteins create the viscoelastic properties that make bread dough pliable yet sturdy 1,8.
Initially, glutenin and gliadin exist as tangled protein strands. When hydrated, they begin to untangle and interact, forming a network of interconnected strands. This network is what gives bread its structure and ability to trap gases during fermentation. The balance between elasticity and extensibility is essential for shaping dough and achieving an airy crumb in baked bread 1,8.
The process of gluten formation doesn’t stop at hydration—it continues as the dough is mixed and kneaded. These actions help organize the proteins into a strong web-like matrix capable of holding its shape while expanding during proofing and baking. Understanding how glutenin and gliadin work together is key to mastering bread texture 1,4.
Water’s Role: Hydration and Gluten Formation
Water is essential for activating gluten formation in bread dough. When water is added to flour, it hydrates the glutenin and gliadin proteins, allowing them to untangle and bond together into a gluten network. Without sufficient water, these proteins cannot interact properly, resulting in weak or incomplete gluten development 1,6.
Hydration levels also affect dough texture. Low-hydration doughs (less than 60%) are stiff and produce chewier breads like bagels. Medium hydration (60–70%) is ideal for most breads, including baguettes and pizza crusts, creating a balance between softness and structure. High-hydration doughs (70% or more), such as ciabatta or focaccia, result in moist breads with an open crumb full of air pockets 1,2,6.
Beyond hydration percentages, the type of water interaction matters too. Strongly bound water supports protein cross-linking for a robust gluten network, while free water acts as a plasticizer, improving dough flexibility. Proper hydration not only influences gluten formation but also impacts fermentation time and final bread quality 2,6.
Kneading: Creating the Gluten Network
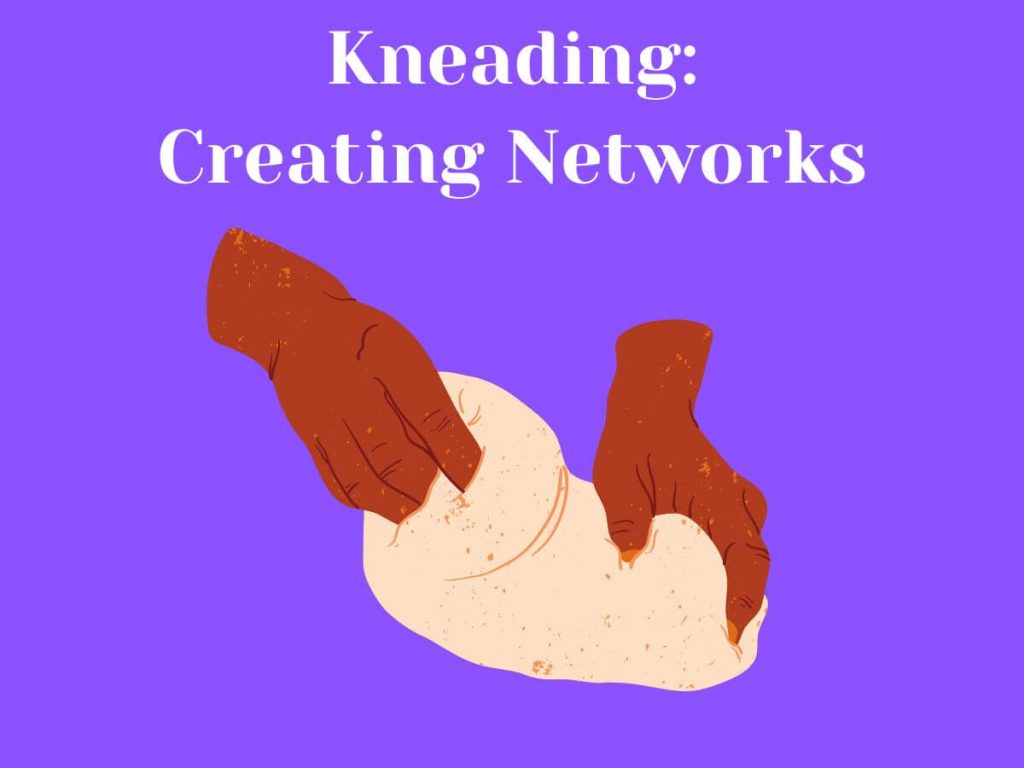
Kneading plays a critical role in developing the gluten network that gives bread its structure. When dough is kneaded, weak initial bonds between gluten strands are broken and replaced by stronger sulfur-to-sulfur bonds. This strengthens the web-like matrix needed to trap gases during fermentation 3,4.
Kneading also stretches tightly coiled gluten chains into sheets capable of holding air bubbles. Methods like stretch-and-fold or slap-and-fold help align these chains without overworking the dough. For some recipes, interval kneading—where kneading occurs in short bursts during fermentation—can achieve similar results while enhancing flavor through longer fermentation times 3,4.
While heavy kneading speeds up gluten development, modern techniques often rely on time instead of excessive effort. No-knead methods use long fermentation periods to naturally build the gluten network with minimal manipulation. Whether you knead by hand or machine, understanding how kneading strengthens gluten ensures your bread will have an airy crumb and excellent volume 3,4.
Time and Temperature: Factors Affecting Gluten Development
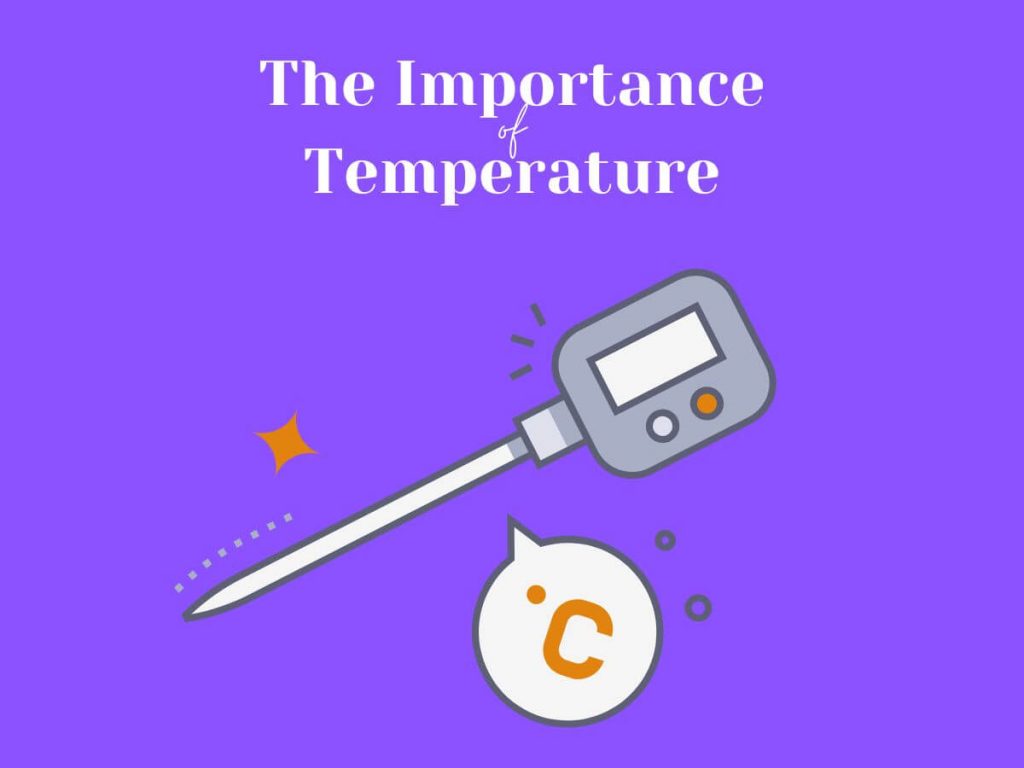
Time and temperature play crucial roles in gluten development. Cooler temperatures slow down fermentation, giving gluten more time to form. This can lead to a stronger, more elastic dough. On the other hand, warmer temperatures speed up fermentation, which can stress the gluten network if it hasn’t had enough time to develop fully 1.
The ideal temperature for gluten formation is between 68-77°F (20-25°C). At this range, gluten develops steadily without the risk of over-fermentation. Some bakers use a “rest” period after mixing, allowing the dough to sit for 10-20 minutes. This rest helps the flour fully hydrate and promotes better gluten development 7.
Interestingly, water temperature also affects gluten formation. Using water at 104-122°F (40-50°C) can speed up gluten hydration and reduce the needed rest time. However, be cautious with very high temperatures, as they can damage the gluten structure. Remember, patience often yields the best results in bread making 7.
Fats and Sugars: Their Impact on Bread Texture

Fats and sugars significantly influence bread texture. Adding fat to bread dough makes it softer and helps it stay moist longer. This happens because fat coats the gluten molecules, preventing them from forming long chains. As a result, the bread has a more tender crumb. Fats also improve shelf life by slowing down moisture loss 2.
The type of fat used matters too. Solid fats like butter or shortening can help bread rise more than liquid oils. They create layers in the dough that trap air, leading to a flakier texture. However, too much fat can weaken the gluten structure, so it’s important to find the right balance 2.
Sugar also plays a role in bread texture. It feeds the yeast, helping the dough rise faster. But large amounts of sugar can slow down yeast activity. Sugar also helps keep bread moist by holding onto water. This is why sweet breads often stay fresh longer than plain ones. The key is to use just enough sugar to enhance flavor and texture without overpowering the bread 2.
Proofing: Balancing Rise and Gluten Strength
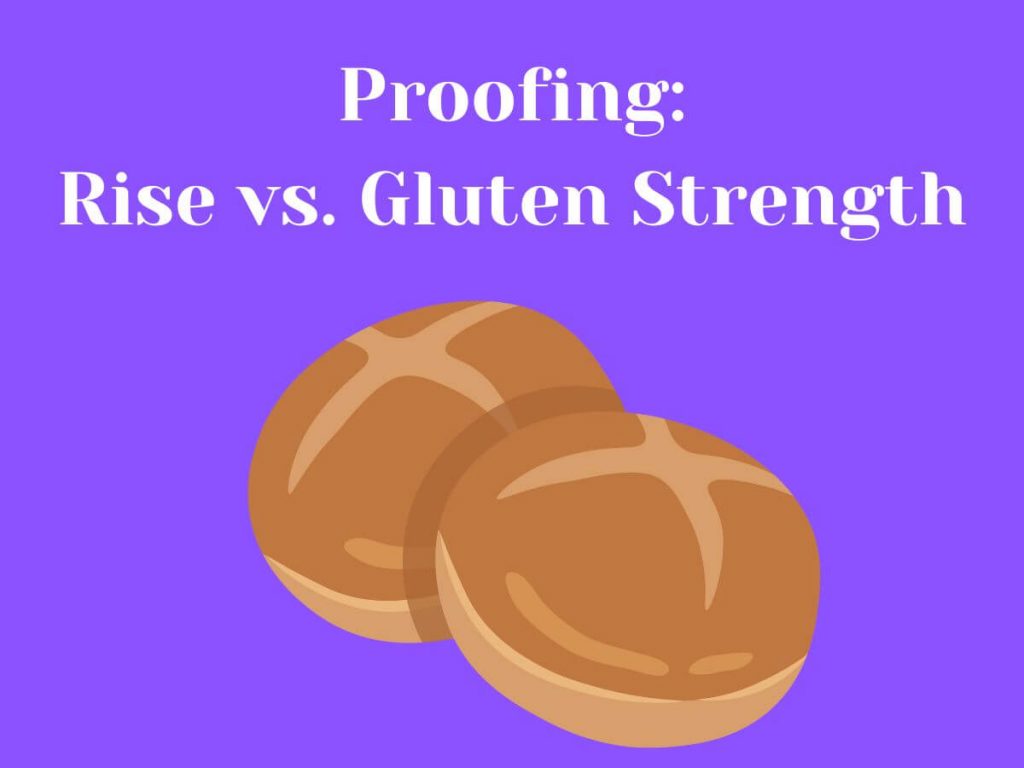
Proofing is a crucial step in bread making where we balance dough rise and gluten strength. During this time, yeast produces gas that makes the dough expand. At the same time, the gluten network stretches to hold these gas bubbles. Getting this balance right is key to a well-risen loaf with a good crumb structure 3.
The proofing time can vary depending on factors like room temperature and dough composition. A cooler environment slows down yeast activity, allowing more time for gluten development. This can result in a stronger dough that holds its shape better. Warmer temperatures speed up fermentation but might not give gluten enough time to develop fully 1,3.
Proper proofing is about finding the sweet spot. Under-proofing leads to dense bread, while over-proofing can cause the dough to collapse. A good way to test if your dough is ready is the “poke test”. Gently poke the dough with your finger. If it springs back quickly, it needs more time. If it doesn’t spring back at all, it’s over-proofed. The perfect proof is when the dough slowly springs back, leaving a small indentation 3.
Baking: Setting the Gluten Structure
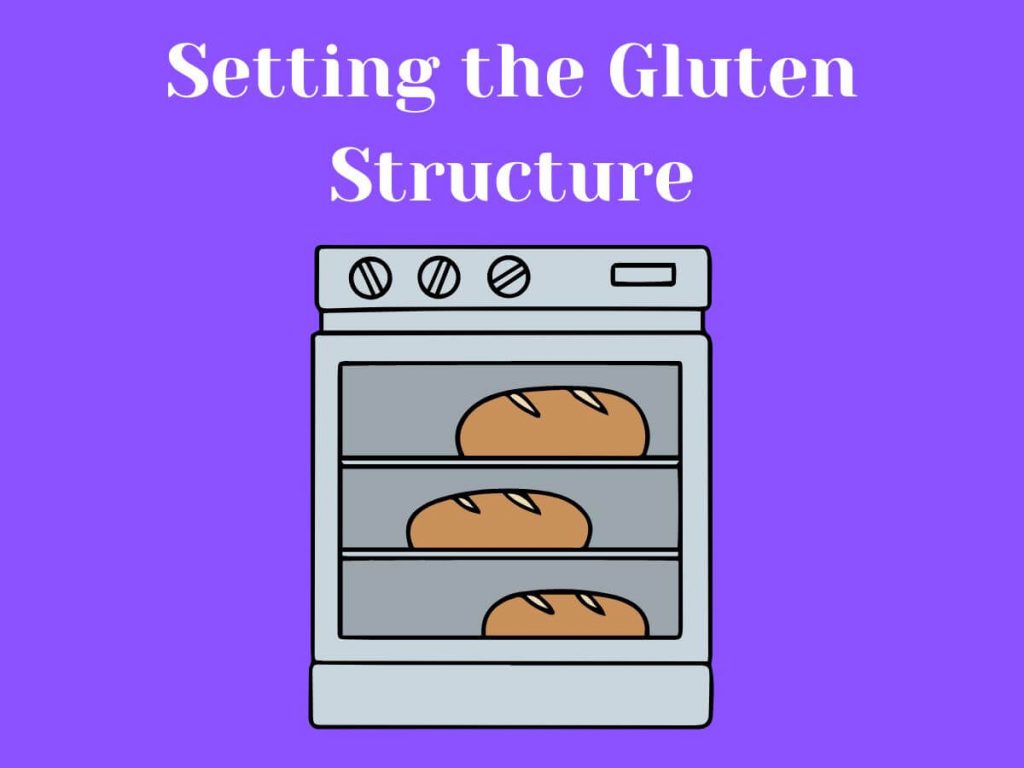
Baking is the final step that sets the gluten structure in bread, transforming dough into a sturdy loaf. As the oven heats, the gluten network stretches to hold the carbon dioxide and steam produced during baking. This expansion creates the airy crumb and volume of the bread. The process begins when the dough’s interior reaches 155–180°F (68–82°C), allowing starches to gelatinize and reinforce the gluten matrix 1,3.
During the first few minutes of baking, known as “oven spring,” the yeast continues to produce gas until it dies from the heat. The gluten network must be strong enough to trap these gases and maintain its shape. If the network is weak, the bread may collapse or have a dense texture. Proper hydration and kneading beforehand ensure a strong gluten structure that can withstand this rapid expansion 7.
As baking progresses and temperatures exceed 212°F (100°C), water evaporates, and starches dry out, forming the bread’s crumb. This drying process locks the gluten structure in place, giving bread its chewy texture and ability to hold its shape after cooling. A well-developed gluten network ensures your bread will have a balanced crumb full of nooks and crannies 1,7.
Troubleshooting: Common Texture Issues and Solutions

Bread texture issues can arise from several factors, but most are fixable with simple adjustments. If your bread turns out dense, it’s often due to insufficient kneading or under-fermentation. Without proper gluten development, the dough cannot trap enough air during proofing or baking. To fix this, knead longer or ensure your dough rises fully before shaping 2,5.
Crumbly bread is another common problem caused by too much whole wheat flour or not enough water in the dough. Whole wheat flour absorbs more liquid than white flour, so you may need to increase hydration to compensate. Additionally, avoid adding excess flour if your dough feels sticky; instead, knead it until smooth 2,4.
For uneven crumb structures, under-fermentation is usually to blame. Ensure your dough ferments long enough to develop a mature gluten network capable of holding air bubbles evenly. If using sourdough starter, make sure it’s active and mature before incorporating it into your recipe 8. By addressing these common issues, you can consistently achieve perfect bread texture.
Conclusion
Now that you’re armed with a deeper understanding of gluten and how to work with it, take the next step and start experimenting! By applying these strategies, you’ll gain even more confidence in your baking and be able to bake high-quality bread. Start putting this into practice and see your bread-making skills go to the next level!
If you still have questions or want more information, feel free to reach out to me at info@ayoogidan.com. I am here to help you succeed.
Want to make sure anyone can enjoy a slice? Check out our guide to gluten-free bread baking!
Frequently Asked Questions:
Q: What are glutenin and gliadin?
A: The two proteins that combine to form gluten, with glutenin providing elasticity and gliadin providing extensibility.
Q: Why is water important for gluten development?
A: It hydrates the gluten proteins, allowing them to bond and form a network.
Q: How does kneading help?
A: It strengthens the gluten network by breaking and reforming bonds between gluten strands.
Q: What’s the ideal temperature for gluten formation?
A: Between 68-77°F (20-25°C).
Q: How do fats affect bread texture?
A: They make the bread softer and help it stay moist longer by coating gluten molecules.
Q: What role does sugar play in bread texture?
A: It feeds the yeast and helps keep bread moist.
Q: What is proofing?
A: A step that balances dough rise and gluten strength.
Q: How do I know if my dough is properly proofed?
A: By doing the “poke test” – it should slowly spring back, leaving a small indentation.
Q: What happens to the gluten during baking?
A: The gluten network sets, starches gelatinize, and water evaporates, giving bread its structure and texture.
Q: Why did my bread turn out dense?
A: Likely due to insufficient kneading or under-fermentation.